How to Track Real Job Costs in a Machine Shop
Ask a shop owner how business is going and they'll tell you revenue is up. Ask them which jobs made money last month and you'll get a pause, a shrug, or a rough guess.
This is the job costing gap — and it's one of the most expensive blind spots in small manufacturing. You know your total revenue. You know your total expenses. But the connection between a specific job and its actual cost? That lives in scattered spreadsheets, loose timesheets, and the memory of whoever ran the machine.
Without job-level cost tracking, every quote you write is a guess that never gets validated. Jobs you think are profitable might be losing money. Jobs you'd turn down might be your best margins. And you have no data to tell the difference.
This guide covers how to set up practical job costing in a machine shop — not the textbook version with activity-based costing and variance analysis, but the version that actually works in a 10–30 person shop.
Why Job Costing Matters More Than You Think
Job costing isn't accounting homework. It's the feedback loop between what you estimated and what actually happened. Without it:
- Your quotes don't improve. If you never compare estimated vs. actual costs, every quote is built on assumptions that may have been wrong for years.
- You can't spot margin leaks. A job that looked good on the quote might have needed three setups instead of one, or the operator hit a hard spot in the material that doubled cycle time. Without actual data, that margin leak repeats on the next similar job.
- You subsidize bad customers. Some customers generate work that's consistently harder than it looks — tight tolerances, frequent revisions, parts that always need rework. Without job costing, you can't prove it. With it, you can reprice or walk away.
- You can't price strategically. When the shop is busy and you need to prioritize, which jobs should you take? The ones with the highest actual margin. But you can't optimize what you don't measure.
The Four Cost Categories to Track
Job costing doesn't need to be complicated. Track four things per job, and you'll have 90% of the picture.
1. Material Cost
What to track:
- Material type, specification, and form (e.g., "6061-T6 aluminum, 2" round bar")
- Quantity used (feet, pounds, or pieces)
- Cost per unit (from the actual PO, not the last price you remember)
- Waste / remnant (how much was left over and whether it's reusable)
How to track it: The simplest method: when material is pulled for a job, record the quantity on the job traveler or in your tracking system. At job completion, note what was actually consumed vs. what was quoted.
Common mistakes:
- Using quoted material cost instead of actual purchase price. If you bought material three months ago at a different price, the actual cost is what you paid — not what you estimated.
- Forgetting to account for the full bar when only part of it was usable. If you cut 8 feet from a 12-foot bar and the 4-foot remnant goes to the scrap bin, the job cost is the full 12 feet.
- Ignoring material from inventory without assigning a cost. "We already had it on the shelf" doesn't make it free — it was purchased at some point, and that cost should flow to the job.
2. Labor Cost
What to track:
- Setup time per operation (in hours or minutes)
- Run time per operation (cycle time × quantity + load/unload)
- Which machine was used (because machine rates differ)
- Which operator ran it (optional but useful for understanding productivity differences)
How to track it: The gold standard is having operators log start and stop times per operation on every job. This can be a paper traveler, a barcode scan at the machine, or a simple tablet entry.
If that's too much overhead for your shop, start with:
- Setup time — have the operator write the actual setup time on the job traveler. This is the single most valuable data point for quoting accuracy.
- Total run time — note when the job started running and when it finished. Divide by quantity for a per-part cycle time.
You don't need to track to the minute. Tracking to the nearest quarter-hour gives you useful data without making operators feel like they're being surveilled.
Calculating labor cost: Multiply the hours by your machine-specific rate. If you're using a single shop rate for all machines, that's a starting point — but a manual lathe at $65/hour and a 5-axis VMC at $135/hour aren't the same cost, and lumping them together distorts your job costs.
3. Outside Service Cost
What to track:
- Vendor name and service (heat treating, anodizing, plating, NDT, etc.)
- Actual invoice cost (not the estimated cost from the quote)
- Turnaround time (useful for scheduling future similar jobs)
- Any quality issues or rejects from the vendor
How to track it: Link vendor invoices to specific jobs. This is one of the places where spreadsheets break down first — AP processes invoices by vendor or date, not by job. If your vendor invoices don't reference your job numbers, add them. Most outside service vendors will include your PO or job number on the invoice if you ask.
4. Overhead Allocation
What to track: You don't track overhead per job in real time — you allocate it using a rate.
How to calculate your overhead rate:
- Total up your annual overhead: rent, insurance, administrative salaries, software, utilities, shop supplies, equipment maintenance (anything that isn't directly tied to a specific job).
- Total up your annual direct labor hours (or machine hours).
- Divide: overhead ÷ direct hours = overhead rate per hour.
If your overhead is $250,000/year and your shop produces 8,000 direct labor hours/year, your overhead rate is $31.25 per labor hour. A job that uses 10 labor hours gets $312.50 of overhead.
Recalculate quarterly. Overhead rates drift as your cost structure changes — new equipment, a rent increase, added software subscriptions. Annual recalculation is minimum; quarterly is better.
Setting Up Job Costing: The Practical Version
Here's how to implement job costing without a massive process overhaul.
Step 1: Define Your Cost Structure
Before you track anything, decide on your framework:
- Machine rates: one rate per machine group (e.g., manual lathes, CNC lathes, 3-axis mills, 5-axis mills, EDM) or per individual machine. Per-group is usually fine for shops with fewer than 15 machines.
- Overhead rate: single shop-wide rate or split by department (machining vs. assembly vs. inspection). Single rate is fine to start.
- Material costing method: FIFO (first in, first out), average cost, or last purchase price. Last purchase price is simplest and "close enough" for most job shops.
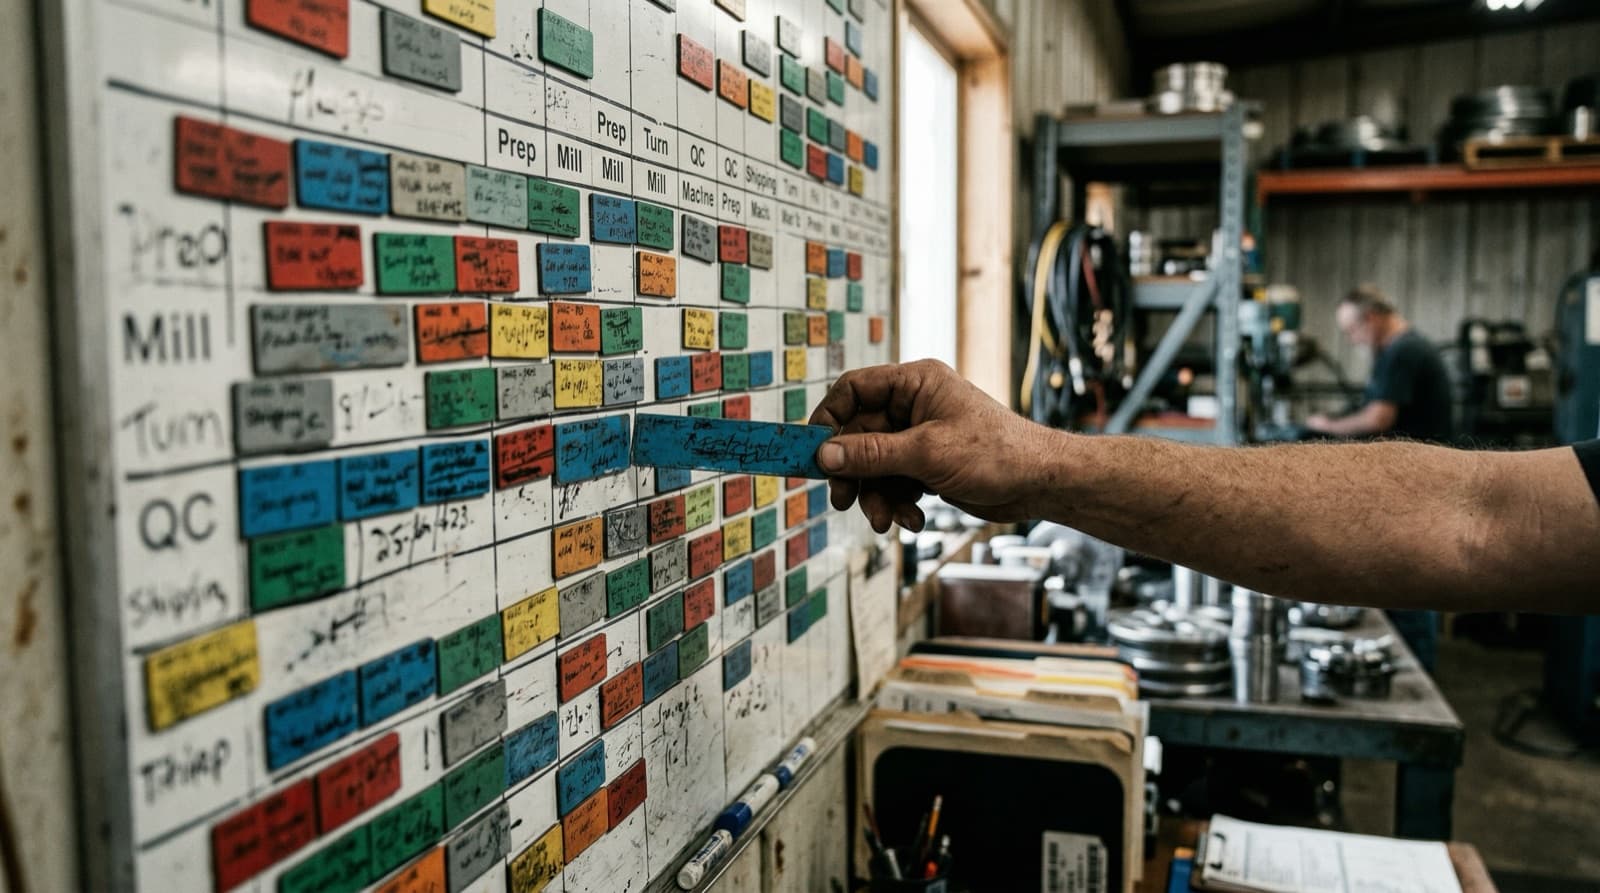
Step 2: Add Tracking to Your Job Traveler
Whether you use paper travelers or digital, add these fields to every job:
- [ ] Material: type, quantity pulled, source (inventory or new purchase)
- [ ] Per-operation: setup time (actual), run time (actual), machine used
- [ ] Outside services: vendor, service, PO number
- [ ] Quality: scrap count, rework time
The key is making it easy for operators to fill in. If it adds five minutes per job, people will do it. If it adds thirty minutes of paperwork, they won't.
Step 3: Capture Data at Completion
When a job ships, gather the actuals:
- Pull the actual material cost from the PO or inventory valuation
- Pull actual labor hours from the traveler
- Pull outside service costs from vendor invoices
- Apply overhead rate to total labor hours
- Sum everything: that's your actual job cost
Step 4: Compare to the Estimate
This is the step that creates value. For every completed job, compare:
| Cost Category | Estimated | Actual | Variance | |--------------|-----------|--------|----------| | Material | $1,200 | $1,340 | +$140 (12% over) | | Labor | $2,800 | $3,100 | +$300 (11% over) | | Outside services | $450 | $420 | -$30 (7% under) | | Overhead | $875 | $969 | +$94 (11% over) | | Total cost | $5,325 | $5,829 | +$504 (9.5% over) | | Quoted price | $6,650 | — | — | | Actual margin | 20% target | 12.4% | -7.6 points |
This job looked like a 20% margin on paper. It was actually 12.4%. If you run ten jobs like this per month, that gap adds up to tens of thousands of dollars a year.
Step 5: Feed It Back Into Quoting
The variance data from Step 4 is quoting gold:
- Material consistently over? Your waste factor is too low, or material prices have risen since you last updated your rate card.
- Setup time consistently over? You're underestimating first-article and fixturing time. Adjust your defaults.
- Specific machine group always runs over? The machine rate may not reflect actual throughput. Recalculate.
- Certain customer's jobs always exceed estimates? The parts are harder than they look. Price accordingly.
Over 6–12 months, this feedback loop transforms your quoting from experienced guessing to data-driven pricing.
What "Good" Job Costing Looks Like
You don't need perfection. Here's what "good enough" looks like for a small machine shop:
- 80% of jobs have actual cost data captured within a week of completion. Not 100% — that's unrealistic at first. But 80% gives you a statistically useful dataset.
- Actual vs. estimated variance is under 10% on average. If your quotes are consistently 15–20% off, there's a systematic problem in your estimation process.
- You review the data monthly. A quick review: which jobs had the biggest variances? Why? What should change in the next round of quotes?
- The data is accessible, not buried. If you have to dig through filing cabinets or cross-reference three spreadsheets to find a job's actual cost, the data isn't useful — it's archaeology.
When Spreadsheets Aren't Enough
Job costing in a spreadsheet is possible for low-volume shops (5–10 jobs per month). Beyond that, the manual effort of gathering data from travelers, POs, invoices, and timesheets — and entering it into a spreadsheet for every job — exceeds what most shops will sustain.
MRP software designed for job shops automates the connections:
- Material consumption is logged against the job when stock is pulled
- Labor hours are captured at the machine and linked to the job
- Purchase orders are tied to specific jobs
- Overhead is allocated automatically based on your configured rates
- The estimated vs. actual comparison is generated when the job closes
The ROI on job costing software isn't the software itself — it's the quoting improvements and margin recovery that come from having reliable actual data for the first time.
Key Takeaways
- Job costing is a feedback loop, not an accounting exercise. Its value is improving future quotes, not just reporting past costs.
- Track four things per job: material, labor, outside services, and overhead. That covers 90% of what you need.
- Start simple. Setup time alone is the single highest-value data point for quoting improvement. Track that first.
- Compare every completed job to its estimate. The variance is where the insight lives.
- Review monthly. Patterns in the variance data reveal systematic problems in your quoting or production processes.
- Feed it back. Every job you cost makes the next quote more accurate. Over 6–12 months, the improvement compounds.
ForgeMRP tracks actual job costs automatically — material consumption, labor time, and outside services linked to every job. Compare estimated vs. actual with one click. See how job costing works.